How to repair a Biomat
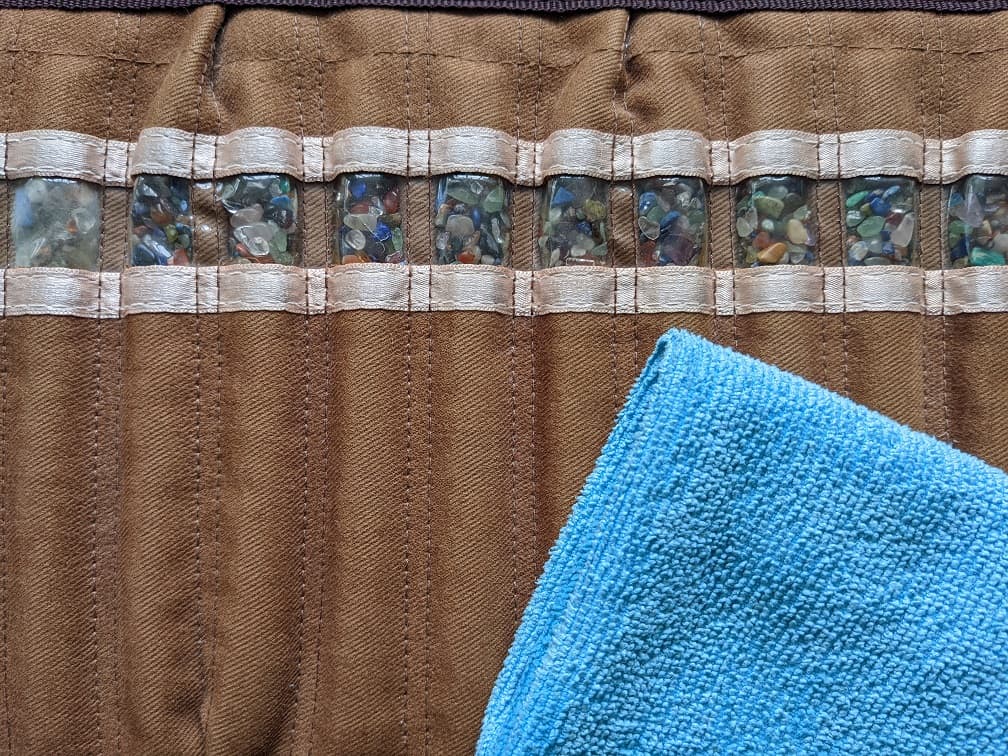
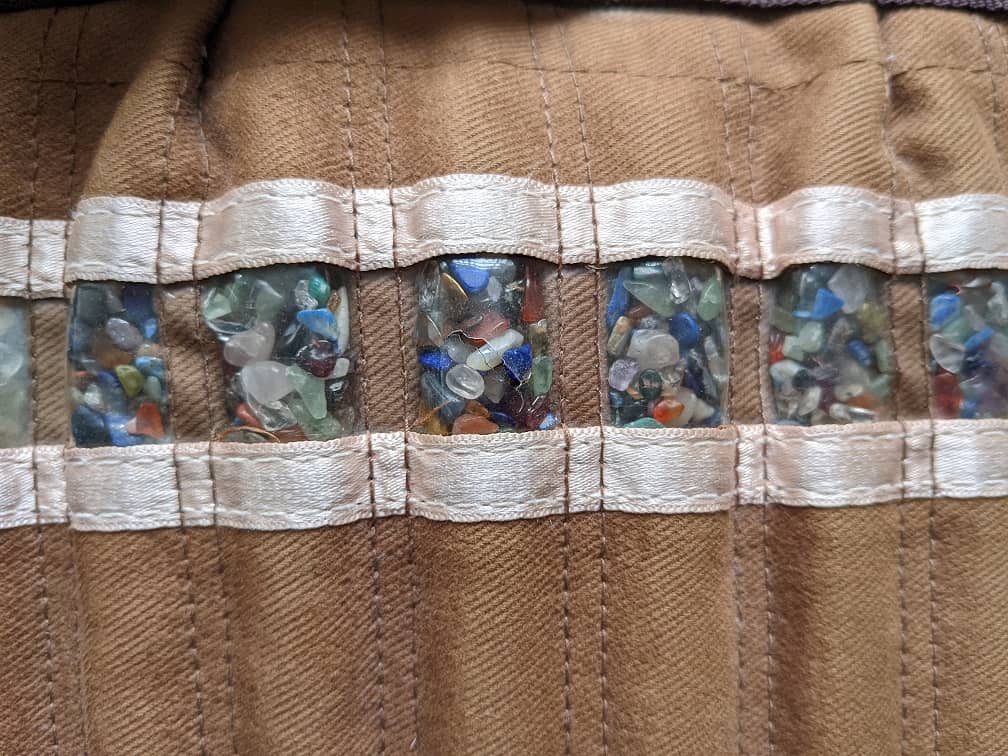
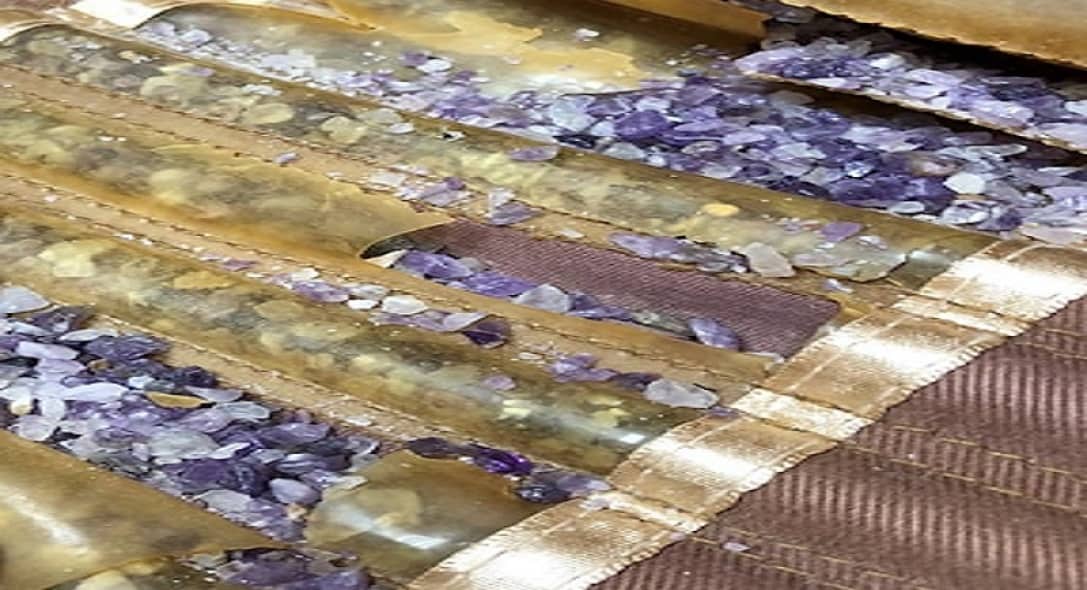
One of our favorite things about the Biomat is the clear strip that allows you to see the beautiful crystals inside. Unfortunately, over time, dirt buildup and heat can cause the polyurethane window strip to crack. Just like other things we use daily, wear and tear is inevitable and expected. And any material that is heated repeatedly is more prone to deterioration over time. Luckily there’s a quick, easy, and attractive way to fix your Biomat.
Tear–Aid is an inexpensive patch kit with a wide variety of uses. You can buy it online from Tear Aid or at Amazon or at most outdoors stores. There are two types of Tear-Aid; make sure you only use Type B only on your Biomat and follow the instructions in the box carefully.
Follow these steps to repair your Biomat:
Unplug your Biomat – While this simple fix doesn’t present any inherent dangers, If you’re wiping your Biomat with anything damp, it’s always best to make sure it’s not connected to a power source. Give your Biomat at least half an hour to cool down if you’ve recently used it.
Clean your Biomat – We like to use a damp microfiber cloth. Gently rub the polyurethane window surface clean, then rub dry with another dry microfiber cloth. This is a great thing to do on a frequent basis if you’re using your Biomat regularly. Dirt and sweat buildup can make the window break down more quickly.
Clean with alcohol pad – Tear-Aid comes with a couple of small alcohol wipes. Clean the window you are going to repair, and while you’re at it, clean the rest of the polyurethane window strip. Let it dry thoroughly before applying the patch. If you’ve already used the wipes, you can make your own solution of 50% alcohol and 50% water applied to a cloth or paper towel.

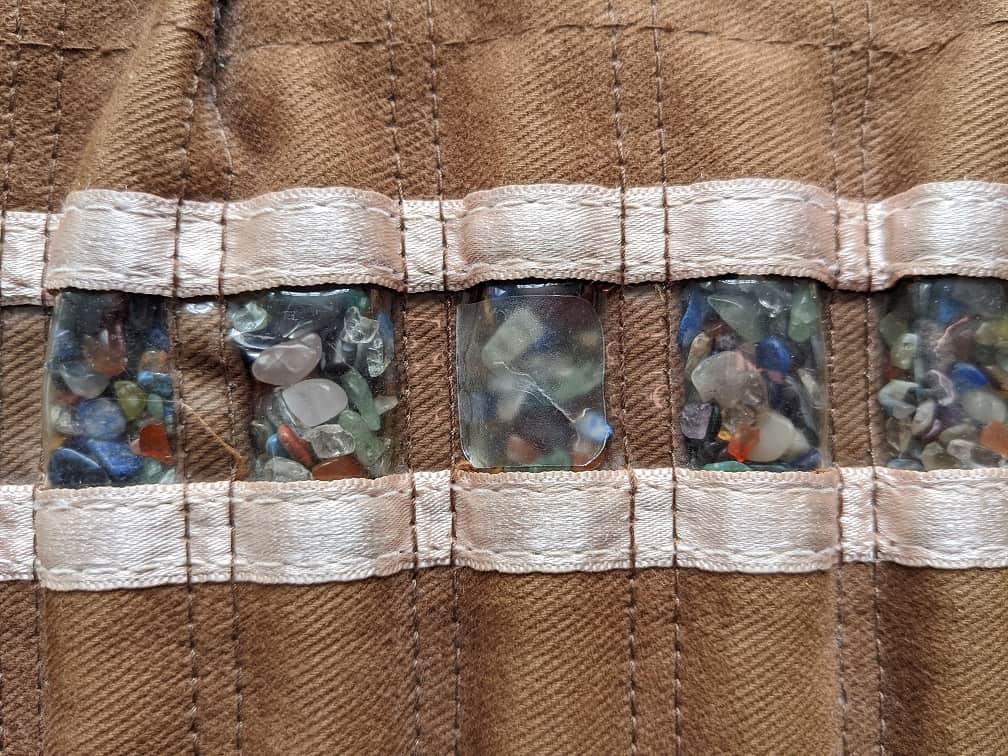
Cut the patch to size – There are several sizes of patches in the Tear-Aid box. To repair this Biobelt, we used the smallest one. We cut it down to size even further so the patch would only sit on the polyurethane window and not overlap any of the stitching. Follow the Tear-Aid instructions: cut the patch before you unpeel it from the backing, and cut the corners into rounded shapes. Hold the patch beside the area you want to repair to be sure you’ve cut it to the correct size.

Attach the patch – Avoid handling the sticky side of the patch. Peel one edge off the backing, stick it onto the polyurethane window so the edges of the crack are covered, and then peel off the rest of the backing. Once the patch is in place, rub aggressively to ensure no air bubbles and a good seal.

Avoid heat for 24 hours – Allow the Tear-Aid patch 24 hours for a strong bond. During this time, do not use your Biomat. After 24 hours have passed, plug your Biomat in and enjoy.
The Biobelt in the pictures is one we’ve used almost daily in our house for nearly 10 years.
The life of your Biomat may vary depending on how often you use it and where you use it. If your Biomat is defective or faulty, and is still covered under warranty, please visit our Biomat Repair policy page.
Warm wishes on your repaired Biomat!
Learn also about the Biomat frequently asked questions.

